Showing posts with label Photoshop. Show all posts

Sunday, July 12, 2015

Family Circus - A Birthday Book

I've been working on this book for six months at least (in between painting faces and a few other projects). I almost always have three or four things going for when I hit a wall with one project or another. A few of things going on here are the wire spine, the spray stenciled backgrounds and the cut and paste pages. I extracted and/or colored a few of the images from old sources but many were purchased as sets from Mischief Circus (previously called Deviant Scrap). I've used pieces from Itkupilli, TumbleFishStudio, MartaVanEck and MrWhiskers to name a few.


The cover of the book, as well as all of the pages, are tied onto a 1/4 mesh wire. I wrapped its edges with super suede to avoid cut fingers!


Pages 00 and 01 - the family tree and Grandpa Eddie, the ringmaster and co-owner of the circus.


Pages 02 and 03 - Grandma Ellie and Clem and Clyde, all images so far from Mischief Circus.


Pages 04 - 07 - The narrator's aunts and uncles. I started the book with the strong man, Francis, and an embellished story of an incident from my son Kevin's childhood. That's why the book became a gift for him! I extracted and colored and put together from pieces both of the characters on that spread.


Pages 08 - 11 - The narrator (with the fish), his other grandparents and his parents. The tall man with his head in the clouds was the most interesting Photoshop challenge of the book.


Pages 12 - 13 - The narrator's bothers and sister's (plus a little glimpse of him) and the Bird Lady, Lillian. I think I showed her in another post as I was learning to color old black and white images.


Pages 14 - 18 plus back cover inside - Various relatives and friends of relatives who joined the circus in their respective times. These pages were all a "circus" to create, all technical issues (glues, finishes, etc.) aside and I love every one of them but my absolute favorite is the bright pink and red one in this set of pictures showing the New Orleans jazz band and the Hoochie Koochie Kittens. If you click on any picture you can read the stories.                         
 
.

Wednesday, August 21, 2013

Halloween Colors Challenge at Simply Betty Stamps

After I saw this sexy "Witch Mercedes" from Simply Betty Stamps, I knew I wanted to play with her. I hurried over and joined the SBS Facebook group and although Facebook always stymies me I did manage to find my way around and snag this cutie. All of the work was done in Photoshop. The spider web and the creepy spider are from photos I've taken and the trees are PS brushes from Trees_by_Horhew.


Thanks, Betty, for "treating" us to this delicious challenge!!

Thursday, May 2, 2013

April Projects for Smeared and Smudged.

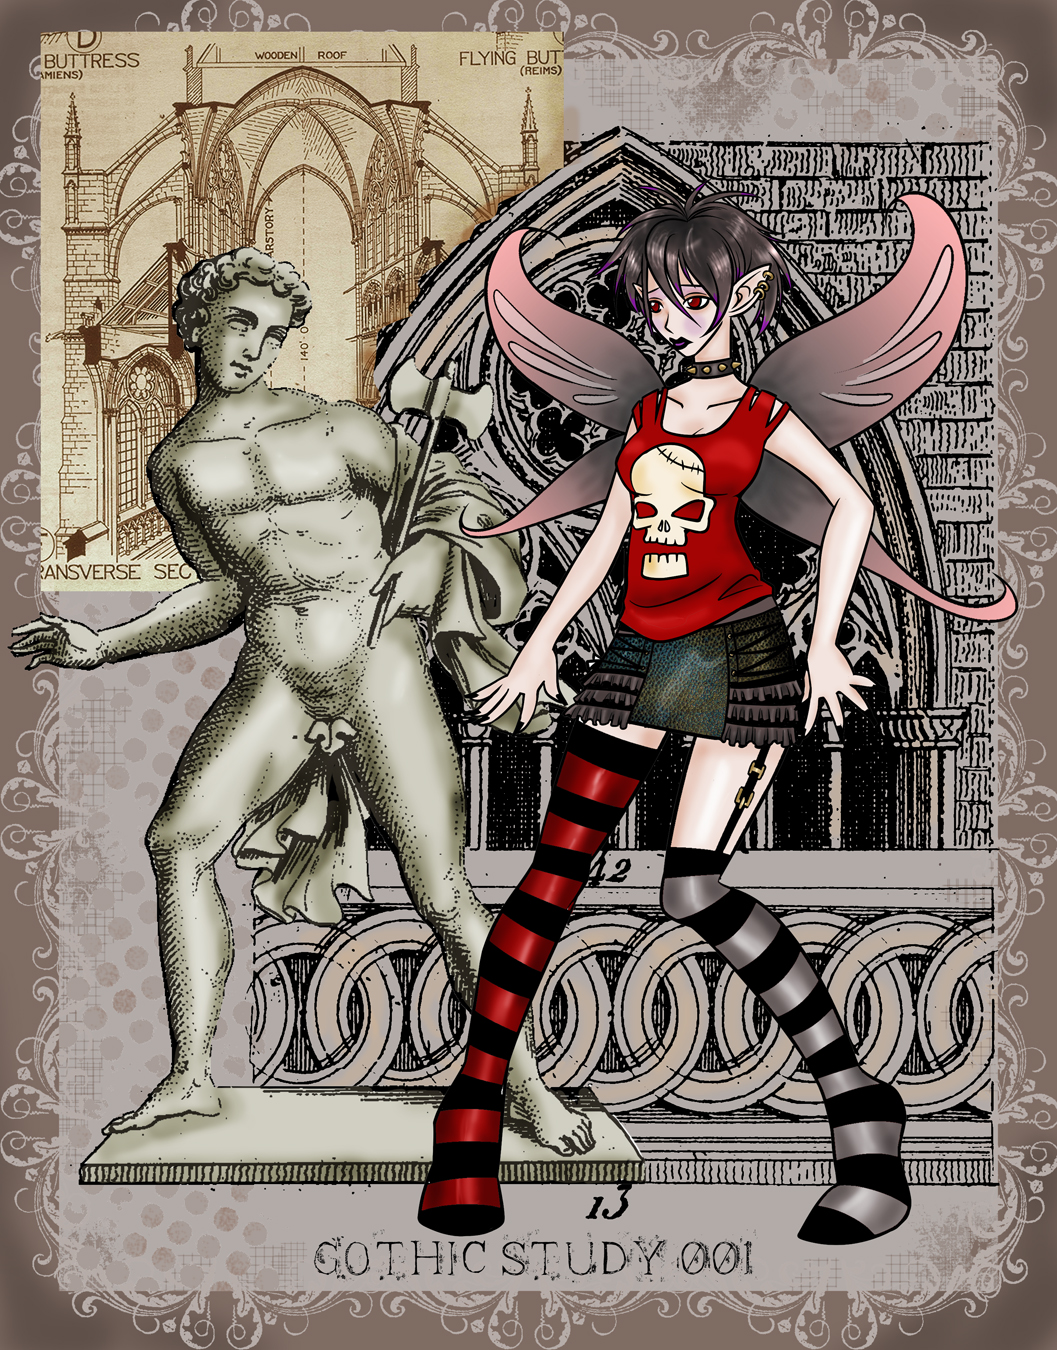
Now that it's May, I'm finally getting around to posting the projects that went along with the April Guest Designer spot on Smeared and Smudged. I seem to revel in posting on the loneliest spots on the WWW and my blog gets high marks in that regard. There's not much to say about these other than that most of the work was done in Photoshop. Some of the five projects feature S n S's Goth Fairies digital stamp and I enjoyed using those very much.


Thanks for taking a look!

Monday, April 1, 2013

April Guest Design spot on Smeared and Smudged

As a fairly infrequent stamper and paper player, I was honored to be asked to host the Guest Design spot on Smeared and Smudged's Challenger group for April. I was pretty intimidated by the two designers from January and February, Julia Vazquez and Leigh Snaith-Brunton, who both created just amazing projects and challenges. And seriously, I thought to myself that the only way they could make it more intimidating was to have Mark Gould go right before me. On March 1, I had quite a laugh as that was exactly what happened.

My project is a tunnel book that I'm calling "Into the Woods." I used three of the SnS Goth Fairies Set as the characters and altered them to fit the plan. Precious got a red hood, Cornelius got a wolf's head and Jenna got an axe. I had worked on the layers previously and had to rework them to  make them fit together as when I had used them before, they opened inside a book so they were all different sizes and contained other characters that had to be removed.

It was all colored in Photoshop with a little twist; for the flowers and some of the trees, I put real flowers and trees behind the top layer and then erased those sections so the real stuff showed through.

There are four layers, including the background layer. I tried to create additional depth by using pop dots to hold the characters off of their layers. Red Riding Hood had to be supported by a dowel that connects to the back layer. My basic plan was to make a cohesive scene (the path, rolling grass and background) and then add additional elements to each layer as the viewing holes got smaller. Since each layer needed to be able to support itself and I was printing onto photo paper, I adhered each layer to heavy black card stock and used 1/2" x 1/2" wood pieces cut to length to hold the layers apart.


Friday, January 11, 2013

Creative Collaboration with LeilaniJoy

I was going to Miranda's blog to examine some of her backgrounds and read what she had to say about them. The first thing I saw was an incredible mermaid creation that she had done as part of a Creative Collaboration Contest with LeilaniJoy. There were only two days left to enter the contest and it was something I thought would be so much fun. I spent most of the first day looking at resources to help me draw the faun legs on the provided upper body (three choices). I knew I wouldn't have time to do a background so choose the fairy personality (three choices) because it fit onto the wonderful mushroom picture either Ken or I took on our trip to Seattle. I don't enter lots of competitions but this one just grabbed my imagination.


Other than the sketches for the legs, clothes and hair all creative work was done in Photoshop. I'm getting fairly comfortable there and learning more all the time.

Thursday, December 13, 2012

13 Days of Creepmas with Rick St. Dennis - Day 13

We made it!! Today is the very last day of the new RSD Creepmas Hop. I hope you've enjoyed seeing all of the wonderful Creepmas art on our blogs. It has been fun rolling out all of the new images, both on the Design Team blogs and every day on Rick's Airless Chambers blog!
I chose to lean toward traditional for this project but Rick said people seem leery of Santa Puppetier so maybe that's creepy enough. Personally, I wish everyone would love this image as much as I do - it's fantastic!


I took a picture of some of my dolls on shelves since I know lots of people think that's pretty creepy and spent yesterday afternoon messing with them in Photoshop. It's no secret that sometimes when you're working in Photoshop you have no clear idea of where you're going and the way you play during those times is how you learn more. There were some steps I took first like turning the photo into a stamp and then putting it over the image but what made this work was a blending mode I've never used before called Linear Burn. I know, I know...you don't know anything about Photoshop but isn't it a little intriguing that you can take an ordinary photo and turn it into a stamp?
Now enjoy the last few minutes of the hop and if you aren't ready to give up Creepmas yet, Smeared and Smudged's 12 Days of Creepmas goes alternate days until the 23th. Monique, Helen and Lady Brayton will have a blogroll for that hop on their blogs so check it out!!

Sunday, December 9, 2012

13 Days of Creepmas With Rick St. Dennis - Day 9

We're in the home stretch now - whatever that means. To me it means getting myself back to the drawing board as this is the last post that is completely ready. I'll need to work all day today on the next one. I've said before I don't function well under pressure - we'll see!
My project for today was another completely fun one although I got off to a bad start with it.


It's Rick St. Dennis' Haunted House which I have transformed into a Haunted Gingerbread House. This is the file that accidentally got flattened. I had spent oodles of time on it during the 31 Days of Halloween and just needed to change the colors which shouldn't have been hard. But, I ended up starting from scratch - again!
I transformed a silhouette of Santa and his sleigh from my Broderbund Click Art into a whip cracking witch who's going to be really POed if those gingerbread guys don't get their mean faces on and make some Creepmas decorations or toys or whatever it takes.
I hope you're enjoying the hop and all of the creepy (and beautiful) things you're seeing here. Leave us some love - we're all so creeped out we need it!! The blogroll is on the side bar to the right ---->

Friday, December 7, 2012

13 Days of Creepmas With Rick St. Dennis - Day 7

This is the exact midpoint of the hop.That's a smidgen off - Pauline is the seventh blogger on the 7th day so you just passed halfway. I'm a little OC about time, I guess. Today I'm channeling Martha Stewart at a Creepmas Blog Hop, i.e., I have a recipe for you. My post is Christmas Snacks. Well, I'll let you judge for yourself how appetizing these snacks are.


In addition to  Creepmas Snacks, I've used Skating Santa 's head for the extremely overjoyed HOHOHO Santa. I did ask permission before I beheaded him! The cookie recipe is one of my favorites. If you are determined to add the ornament shards, please use green ornaments. Red dye #7 is so dangerous for children!! The recipe will print at 4 x 6 if you download the one you get when you click on it.


And these are the yummy cookies. I did forego the shards in mine! To each his own!!


I hope you've enjoyed my little touch of Martha! Thanks for visiting and thanks for the kind comments you leave. I enjoy your feedback!! Now off with you to the rest of the Hop. And don't forget there's some Creepmas going on over at Smeared and Smudged too.

Thursday, December 6, 2012

13 Days of Creepmas With Rick St. Dennis - Day 6

Are we seeing some really awesome creepy Art? I think so! The flip side of retailers showing Christmas merchandise so early that it gets in the way of enjoying the fall holidays hit home for me yesterday. I got out to get a few supplies and it was one of the first times I'd gotten to look at the Christmas stuff at JoAnns (we have that and a Hobby Lobby about half an hour from the funny farm) and stuff was marked 40 - 60% off and they were out of lots of things I might have considered! Way to save money, I guess - stay busy!
My piece for today is one that was completely fun. Except for the martini, the red curls and maybe a couple of extra pounds it's me - I got Decoratin' to Do.


And now I actually have martini glasses from Goodwill @ $.50 each  and that darling metal frame for $.90. I was ecstatic to find such bargains just when I needed them! The digital stamp was colored in Photoshop; the striped background is a piece of fabric. I read a tutorial on making candy canes and I can assure you it won't be the last of them you'll see from me!! Another totally fun thing to do! I really love this piece and hope you do too!
Now hop, hop, hop along and enjoy the rest of today's creations! And since you've made it this far, I can rest assured you probably won't get lost today!

Wednesday, December 5, 2012

13 Days of Creepmas With Rick St. Dennis - Day 5

Here we are at Day 5 of the 13 Days of Creepmas with Rick St. Dennis and December is flying by! It seems a great day to tell you all how much I appreciate the kind comments you've been leaving for me and the rest of the design team. It makes the effort we put into each project seem worthwhile!!

I have a really short post today - these were supposed to be ATCs but I kept them about the size of a regular card.


The images from Rick's Etsy shop are Mistletoe and Carniverous Bonnet . I thought they made a very cute Creepmas couple. The green background paper is from K & Company - one of their Christmas stacks. The side and top border stamps are from Heidi Grace and the middle one is from Stampers Anonymous. Everything else was done in Photoshop.
Enjoy the rest of the Hop today and don't get lost!

Tuesday, December 4, 2012

13 Days of Creepmas with Rick St. Dennis - Day 4

There is a subculture of Alice fans who love Dark Alice. I had been vaguely aware of it when my son was playing a video game called American McGee's Alice. It had very beautiful graphics and lots of blood. I encountered Dark Alice again in the world of ball-jointed dolls when artist Kim Lasher had a huge hit with her Dark Alice doll. Then last year American McGee released a new video game "Alice - The Madness Returns". I play lots of video games but do not have the quickness required for that kind of game. However, a book was published with much of the concept art and I had to have that.

As it happened, I was looking through that book shortly before I saw Rick's "Creepmas Dolls" digital image and it just clicked for me. The dolls in the latest game are in a dollhouse for insane dolls. Okay, here's my take:


The top image is the original Photoshop file. The window and siding are my photos. I wanted the name of an asylum, preferably of the Victorian era and English. Imagine my glee to find that one of them was called Bedlam.                   


This card I made with a print of the original is interesting in how blue it turned out. I guess that could have been the camera. I created the papers in Photoshop.


I did another take with the original image using a bombed out hotel in Lebanon but hadn't noted the photographer so I took this shot of a school in Seattle and it worked out fine. The lights are a clear stamp from Heidi Grace.

I hope you are enjoying seeing all of the Creepmas creations here on Rick's blog hop. Now I'll let you be on your way to see some more!! Don't get lost!

Thursday, January 12, 2012

Meshy Mirrors


This is my entry for the Smeared and Smudged January Bloghop - the challenge is MESH IT.


I had gotten myself some nice Christmas presents, Photoshop CS5 and a book called Digital Art Wonderland by Ange Sullins and Silas Toball. So when the bloghop notice was posted, I was already knee deep in this as a learning project. The mesh idea seemed a wonderful way to differentiate their arches. I grabbed a new meshy dishcloth and an old green onion bag. Seriously, who doesn't save all of their old mesh onion bags? They were scanned into PS, given a blending mode and a layer mask (I learned how to transfer one from another layer).


Then I needed to add the undersea stamps to the sea side. They are Seahorse by Rubber Stamp Avenue, Bubbles by Impressive Stamps, and Spiral Shell by Impression Obseession. The border stamp down the middle is from Ann-ticipations, one of my favorites. I found the quote online and it seemed appropriately creepy.


If you happened upon this accidentally, check out all of the other great entries in the S & S January bloghop from the blogroll in the side bar.

Thursday, October 20, 2011

31 Days of Halloween - Day 20


Okay, I promised yesterday I wouldn't go on and on but...The first thing I did in making these scenes was scour the web. My best results came from "witch house" which turned up some fantastic stuff. I like to see how closely I can mimic a photo or piece of art given a finite number of stamps. The goal is to transcend what I'm looking at and make something completely different which happened here but not always. I set the ground rule that no actual rubber would be treated like digitals, i.e., scaled, flipped, or distorted. However, I did discover the warp tool during this process and warped the hell out of most everything else. That said, I'm not going to say it again.

Witch by Penny Black, demon by 100 Proof Press, fence by Old Island Stamps, rocks by Beeswax, path by Alex Stamping, background trees by 100 Proof Press, Beeswax and Stampscapes. I drew the little house sort of like one in a tole painting book. Foreground trees are two separate sets of PS brushes, Trees by Horhew and Memory_of_Trees_v1_0_5_by_dejahofmars. I found both sets of brushes by seaching for PS brushes spooky trees.

One of my favorite PS tips is that a black and white layer, say line art, can lose the white parts by making the blending mode into multiply. Then you can color on the layer beneath that and still retain sharp black lines.

The posts from day 19 hit so many high points that it was more like a mountain ridge than a mountain peak! Wonderful projects, one and all!!

Thursday, February 5, 2009

Valentine Theme

I had wanted to work around a valentine/romance theme with the red background I had collaged last week and a close up picture of tango dancers from an '08 calendar. I ran into several problems: the dancers were too big for the page and didn't match the tones of the background, the background itself was too big for some of the other couple images I had on file, and the couple images I wanted to use were a strange assortment of sizes. So I fell back to scanning the images and doing the whole thing digitally. As much as I enjoy getting my hands dirty with paint and glue, I get really excited about being able to alter the size, transluncency, and color nuances of the images I'm working with. In other words, I'm a total Photoshop control freak.

I got a real bonus when I opened the "Stitch" set of brushes by boyingopaw that I had downloaded from here: http://www.brusheezy.com/brushes and saw that the stitiches follow your cursor as if you were really embroidering. Now if I could only sew and cut out and wear paper clothes!

The other bonus was the amazing Virginia Woolf quote I found online: "I want the concentration & the romance, & the words all glued together, fused, glowing: have no time to waste any more on prose."

Saturday, August 9, 2008

Dreaming of Buses


I don't remember dreaming about buses before except when I am leaving my dream downtown. Let me explain. I have dreamscapes that are fairly constant.
So having three bus dreams in a few days is unusual. In this one the driver has left his seat and as the bus starts to roll downhill, I have to get in the driver's seat and steer it. It comes close to hitting trees and toppling off the road but I manage to get it to the bottom of the hill. Once there, I can't get it started up the next hill, and using typical dream logic, I back the bus back up to the starting point and try again. The second time goes much smoother as I don't have any near misses with trees or ditches.
I Photoshopped a photo of the Smokey Mountains by squeezing them vertically to get steeper hills, and then raw sketched and colored each hill. Then I dropped in sections of curvy highway and gave each one a similar treatment. I think the dashboard was a Porsche but it had the wrong proportions so it had to be stretched and have a longer hood to look like a yellow bus before I did the raw sketching and coloring. The dream really was as vivid as what I came up with but I don't know how to convey the out of control movement of the bus. I don't give much credence to dream symbolism but this was interesting enough to include.

Thursday, March 6, 2008

Photoshop Mandala


I've been speaking with an old friend from Ohio who went to check out a small farm in Chillicothe for us and one of her abiding interests is mandalas. She was telling me about a software program that makes mandalas and I told her I thought I could probably do them in Photoshop. For this first try I used a photo of a crystalline mess that was on some glass after a dying experiment. The small pieces of dyed velvet were great but Kate and I were just as excited by these photos of crystals. This mandala is eight sectioned because eight seemed so easy but I think twelve sections would maybe be more interesting. My friend, Jean, is printing them out to quilt with.